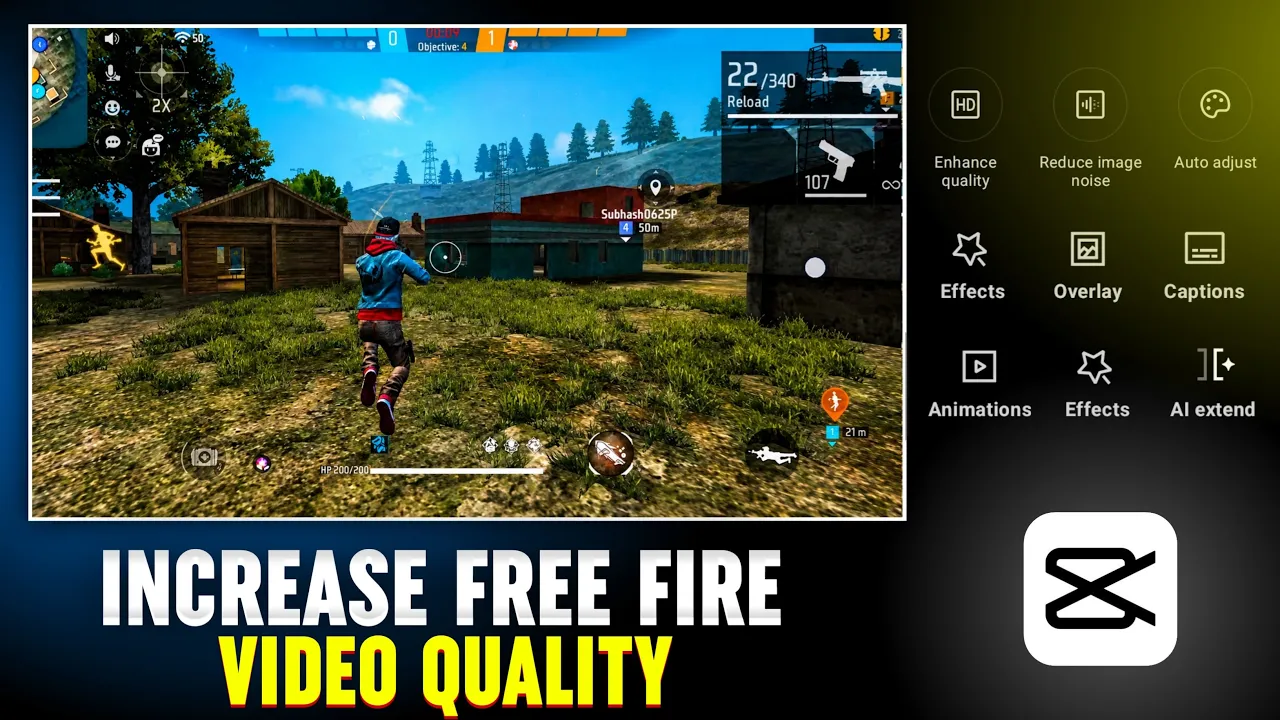
How to Edit Free Fire Videos in 4K Quality Using CapCut (CapKart) – Add Glow, Color Grading & Professional Effects
If you’re a Free Fire player who wants your gameplay videos to look more cinematic and professional, this guide is for you. In this tutorial, I’ll show you how to edit your Free Fire gameplay in 4K-quality style using the CapCut (CapKart) app completely for free.
And it’s not just about increasing the video quality. I’ll also show you how to:
- Add a professional glow effect
- Apply cinematic color grading
- Enhance sharpness and clarity
- Create a depth-of-field effect using overlays
- Export your videos in the highest possible quality
So, let’s get started!
Step 1: Install a VPN Before Opening CapCut
Since some CapCut features may not be available in every region, the first thing you need to do is install a VPN.
You can download any trusted VPN from the Google Play Store. Once installed:
- Open the VPN.
- Connect to any available server.
- Launch CapCut after the VPN is connected.
Once CapCut opens, you’ll see the home screen.
Tip: If you’re unable to access certain CapCut effects, connecting through a VPN usually unlocks additional features.
Step 2: Import Your Free Fire Gameplay
Tap New Project and select your recorded Free Fire gameplay.
If you’re recording gameplay, try to keep these points in mind:
- Reduce the opacity of on-screen controls if possible.
- Hide unnecessary HUD elements.
- Keep your gameplay as clean as possible.
A cleaner screen makes your final video look much more professional.
Step 3: Set the Correct Aspect Ratio
Before editing:
- Tap Aspect Ratio
- Select 16:9
- Adjust your gameplay to perfectly fill the screen.
This ensures your video looks great on YouTube and other video platforms.
Step 4: Trim the Unnecessary Parts
Nobody wants to watch the boring moments.
Trim away:
- Waiting time
- Lobby footage
- Running around without action
- Empty scenes
Keep only the exciting gameplay like fights, kills, and clutch moments.
This instantly makes your video more engaging.
Step 5: Add a Professional Glow Effect
Now comes the first secret that makes gameplay look premium.
Go to:
Effects → Video Effects
Search for:
Colorless Flash
Apply the effect and then adjust these settings:
- Atmosphere: 100
- Speed: 0
- Glow: Adjust according to your preference
- Range: Fine-tune until it looks natural
You can also experiment with different glow colors if you want a blue or custom lighting effect.
Personally, the normal glow gives the cleanest results.
Step 6: Apply Cinematic Color Grading
Good color grading can completely transform your gameplay.
Open the Filters section.
Some excellent filters include:
- Clear 2
- Quality Restoration
- Quality Enhancement
One of the best options is the Orange & Blue filter found under the Night category.
It gives your gameplay a cinematic look with a single click.
Apply whichever filter matches your style.
Step 7: Enhance the Video Using Adjustments
After applying a filter, open:
Adjust
Now tweak these settings carefully:
- Light – Adjust according to the brightness of your gameplay.
- Saturation – Increase or decrease slightly.
- Contrast – Around 10% works well.
- Sharpen – 100%
- Clarity – Around 70%
These settings dramatically improve video clarity.
Step 8: Fine-Tune Colors Using HSL
CapCut’s HSL controls allow you to edit every color individually.
For example:
- Reduce Yellow saturation if it’s too strong.
- Increase Blue saturation to make the sky more vibrant.
- Adjust Green or Red depending on your map and gameplay.
Small adjustments here create a much more balanced image.
Step 9: Improve Shadows and Highlights
Continue adjusting:
- Increase Shadows
- Slightly increase Highlights
- Reduce Blacks a little
- Adjust Temperature if you want cooler (blue) or warmer (yellow) tones
These small tweaks make your gameplay look far more polished.
At this stage, you’ll already notice a huge difference between the original and edited footage.
Step 10: The Secret Trick Most Mobile Editors Don’t Share
Here’s a simple editing trick that creates a premium-looking result.
Duplicate your gameplay clip.
Move the duplicated clip into the Overlay layer.
Now:
- Select the overlay.
- Open Mask.
- Choose the Circle Mask.
- Enable Invert.
- Increase the mask size until it covers the screen.
- Increase the Feather/Fade slightly.
This creates a subtle center-focus effect that naturally draws viewers’ attention toward the middle of the screen.
Psychologically, this makes your gameplay appear sharper and more professional.
Step 11: Add Background Blur
While the duplicated overlay is selected:
Go to:
Effects → Video Effects
Search for:
Blur
Apply any blur effect.
Reduce the blur intensity until it looks soft and natural.
The center of your gameplay stays sharp while the edges become slightly blurred.
This creates a cinematic depth effect similar to expensive camera lenses.
Step 12: Match the Color Grading
If you want a more consistent look, apply the same color grading to the overlay layer as well.
If the blur becomes too noticeable afterward, simply increase the blur intensity slightly until everything blends naturally.
This creates a smooth, professional finish.
Final Result
By combining:
- Glow Effect
- Color Grading
- HSL Adjustments
- Sharpening
- Clarity Enhancement
- Center Focus Mask
- Soft Blur Overlay
you can make ordinary Free Fire gameplay look significantly more premium.
Most mobile editors use similar techniques to make their gameplay appear much higher quality without expensive software.
Export Your Video in Maximum Quality
Once you’re happy with the edit:
- Tap Export.
- Set every export option to the highest available value.
- Export your video.
Your gameplay will be saved in the best quality your device supports.
Final Thoughts
Editing isn’t just about adding effects—it’s about making your gameplay visually appealing while keeping the focus on the action. With the right combination of glow, color grading, sharpening, and subtle blur, you can create gameplay videos that look far more professional than the original recording.
Experiment with different filters and adjustment values until you develop your own unique editing style. With a little practice, you’ll be able to produce eye-catching Free Fire videos that stand out on YouTube, Instagram Reels, and TikTok.
Recommended Resources
To improve your video editing skills and learn more about the tools used in this tutorial, check out these official resources:
- CapCut Official: https://www.capcut.com/
- Google Play Store: https://play.google.com/store
- Free Fire Official: https://ff.garena.com/
- YouTube Creator Academy: https://creatoracademy.youtube.com/
- Adobe Color Wheel (for understanding color grading): https://color.adobe.com/